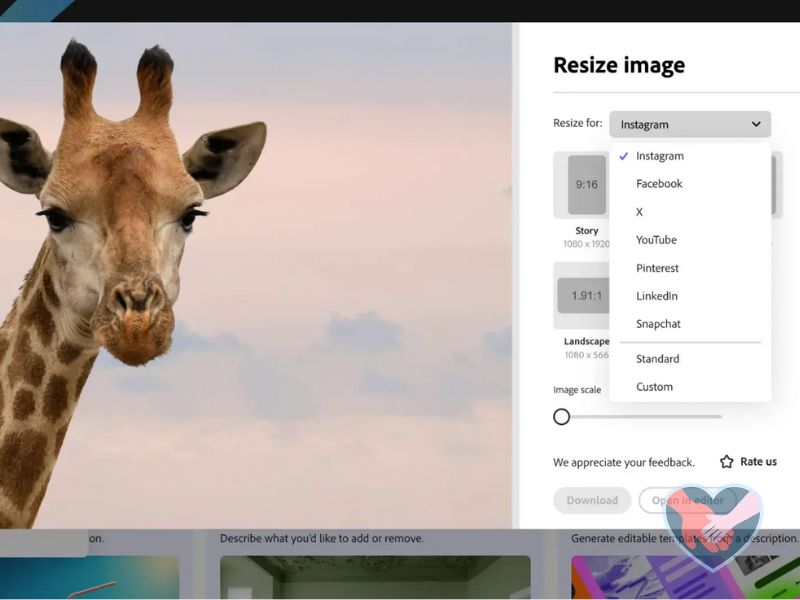
In today’s digital landscape, visuals play a critical role in communicating a brand’s message and engaging audiences. Whether you are a web designer, content creator, or social media manager, optimizing your images is essential to ensure they resonate well with your target audience. One of the fundamental aspects of image optimization is resizing. Learning how to resize images effectively can make a world of difference in how your content is perceived. This article will guide you through the key steps and best practices to resize image with a modern, professional look, without compromising quality.
Why is Image Resizing Important?
Resizing images is more than just making them smaller or larger. It’s about ensuring that the images maintain their integrity, visual appeal, and context across various devices and platforms. The size of an image affects page load speed, which is crucial for both user experience and search engine optimization (SEO). Large, unoptimized images can slow down a website significantly, leading to a higher bounce rate and lower engagement.
On the other hand, images that are too small can appear pixelated or blurry, giving an unprofessional appearance. Thus, finding the right balance when resizing images is essential for anyone looking to create visually appealing and functional digital content.
Tools for Resizing Images
A wide array of tools is available today for resizing images, ranging from simple online editors to complex software suites. Adobe Photoshop is a popular choice among professionals for its extensive range of editing tools and high level of control over image quality. Other powerful tools include GIMP, Canva, and online platforms like Pixlr and Fotor. These tools offer various features that help to resize images without losing quality, ensuring they look sharp and vibrant.
If you’re looking for a simpler solution, online tools such as ResizePixel or BeFunky provide quick and easy resizing options. These tools are great for non-designers or those who need to perform batch resizing without delving deep into professional software.
Best Practices for Resizing Images
- Maintain Aspect Ratio: When resizing an image, maintaining the aspect ratio is crucial. This prevents the image from looking stretched or squished. Most modern tools have a ‘lock aspect ratio’ option that ensures the width and height of the image are scaled proportionally.
- Use High-Quality Source Images: Start with high-quality, high-resolution images. When you resize a low-quality image, it often results in pixelation or blur, especially if you need to enlarge it. High-quality images allow more flexibility when resizing, maintaining sharpness and detail.
- Optimize for the Web: When resizing images for websites, remember to optimize them for web use. This involves reducing the file size without compromising too much on quality. Web-optimized images load faster, which is crucial for user experience and SEO. Formats like JPEG, PNG, and WebP are commonly used for web images, each with its own pros and cons in terms of quality and file size.
- Leverage Automation Tools: If you have a large number of images that need resizing, consider using automation tools or batch resizing software. Programs like Adobe Photoshop offer batch processing features, where you can apply the same settings to a folder of images, saving time and ensuring consistency.
- Focus on the Image’s Context: The purpose of resizing is to fit an image within its intended context. For instance, a hero image on a website’s homepage will need a different size than a thumbnail or a profile picture on social media. Therefore, always resize images with the end-use in mind.
How to Resize Image with a Modern, Professional Look
To resize image with a modern, professional look, it’s essential to consider not only the technical aspects but also the aesthetic ones. Modern images should be crisp, clear, and free from distortion. Here are some tips to achieve this:
- Use Vector Graphics When Possible: For logos and icons, always use vector formats like SVG. Vectors are scalable without loss of quality, making them ideal for modern, professional designs.
- Consider the Background: When resizing images that have a complex or busy background, you may need to crop or adjust the image to ensure that the subject remains the focus. Removing unnecessary elements helps to streamline the visual appearance.
- Sharpen After Resizing: Some tools allow for sharpening after resizing, which can help in retaining the crispness of the image. This is particularly useful if you’re reducing an image’s size significantly.
- Test Across Devices: Before finalizing, test the resized images on different devices and screen resolutions. What looks good on a desktop may not necessarily look as sharp on a mobile device. Ensuring your images look great on all platforms is key to a modern, professional appearance.
Conclusion
Resizing images is an essential skill for anyone working with digital content. By understanding the principles of aspect ratio, quality optimization, and context-specific adjustments, you can enhance the visual appeal of your images while maintaining a modern, professional look. Leveraging the right tools and following best practices can elevate your content, ensuring it not only captures attention but also communicates your message effectively. So, next time you resize an image, keep these tips in mind and watch your visuals transform from ordinary to extraordinary.


